Mirage
CS2 Mirage Map Guide
Welcome to Mirage, a central map in the CS2 universe, known for its balanced design and strategic depth. It is THE MOST POPULAR map in PUGs (Pickup Games). This guide will help you understand the map’s layout, develop strong strategies for both Terrorist (T) and Counter-Terrorist (CT) sides, utilize utility effectively, and master the nuances of rotation. Let’s explore the intricacies of Mirage.
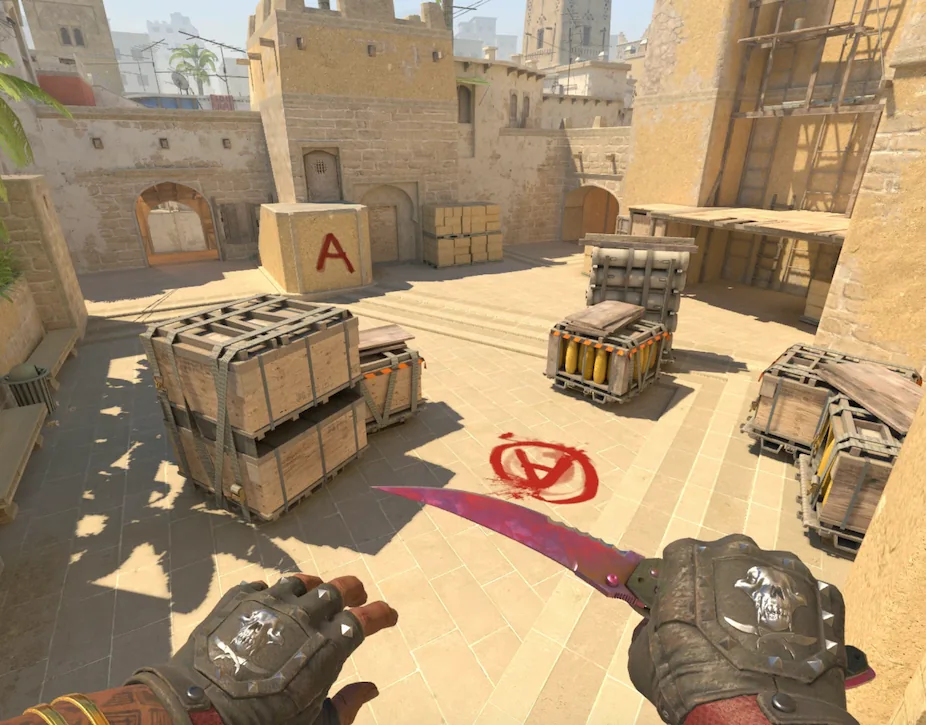
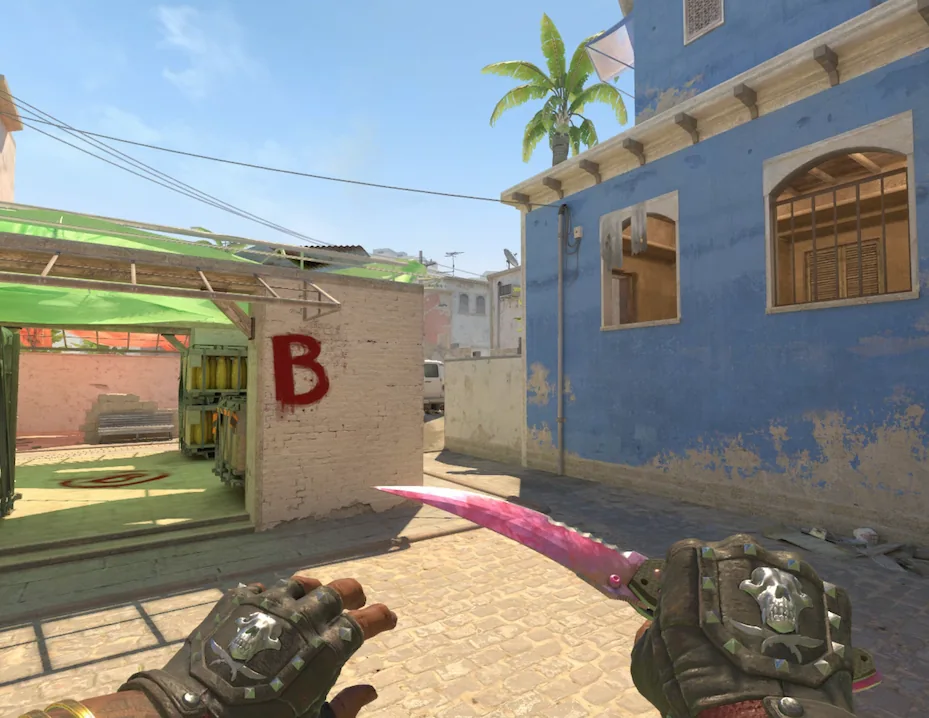
Map Layout
Mirage features two bombsites, A and B, separated by a spacious mid-area, offering numerous tactical approaches. The map is known for its open spaces in mid and bombsites, contrasted with tighter areas like apartments and palace. Controlling mid is often crucial, as it provides access to both sites and various rotation paths.
CT-Side Strategies
Initial Positioning
Typically, CTs start with two players on A, one in Mid (often with an AWP), and two on B. A-site defenders usually split between Ticket Booth, watching Palace and A-main, and Jungle or Stairs, offering support to Mid and A-site. The B-site players divide between Van or Bench, and Short or Catwalk, ready to support Mid or B.
B-Side Control
Controlling Apartments and maintaining vision on B short are crucial. Early in the round, CTs might use aggressive utility in Apartments or push for information. Holding B requires a balance of aggression and retreating tactics, depending on the T’s movements.
Usually, you want jump spotting at car to watch out for any T’s, but in case you see them rushing you want to fall back to backsite f.e, and delay the push as much as you can! It’s important to not get killed because your job is to give your teammates time to rotate!
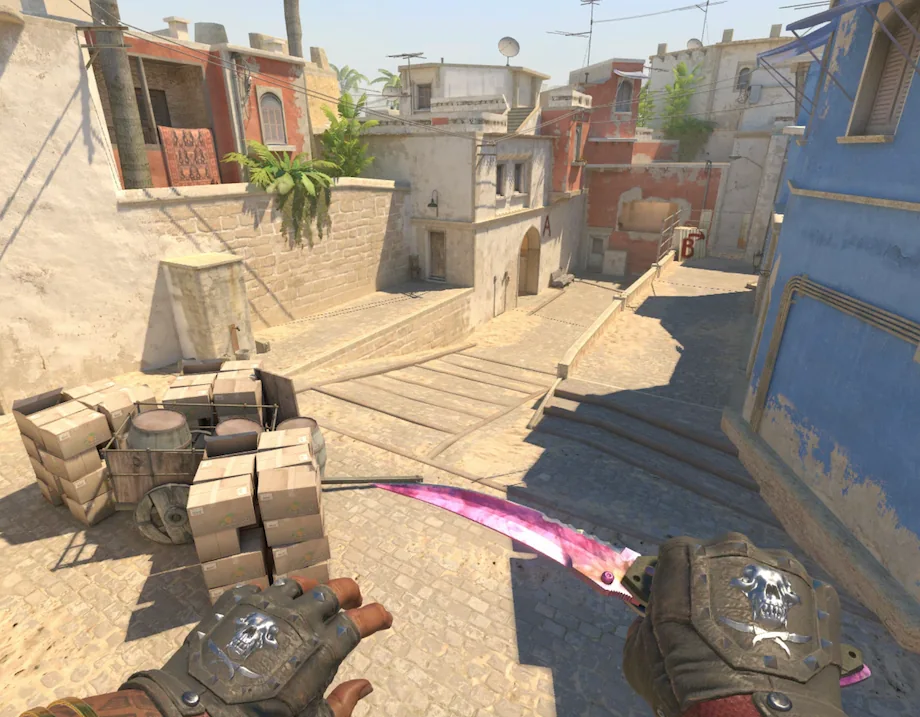
Mid Control
Mid control is vital. The player in Window needs to be vigilant for smokes blocking their view and be ready to rotate to Connector or Ladder Room. Timely information and quick rotations are key in reacting to T-side plays.
T-Side Strategies
The Default
If you want to play early for mid control, a standard setup is 1 = A, 3 = Mid and 1 = B/Under. With Top Mid smoke, Connector smoke and a window smoke, combined with flashes it’s a good way to challenge Mid control early.
Another common T-side start involves players spread out: one or two players in Apartments, one watching Mid for aggression, and the rest working towards A, either through Palace or A-main. This setup allows for flexibility based on the CTs’ positioning and aggression.
Taking Control
Gaining control of Mid is crucial in the game. Smokes for Top Mid, Window and Connector, along with well-placed flashes, help the T’s challenge or bypass the Mid defender. This allows for split pushes onto A or B bombsites, catching the CT’s off guard and dividing their attention. A split push creates chaos by attacking from two sides, while a B split push puts pressure on the CT’s. Overall, Mid control enhances chances of success and gives teams a competitive edge.
If your team plans to go A, then you should come from connector. If your team plans to go B, go over Short or kill the rotations from ladder room. If your team struggles to fight for Mid early, try it with delayed smokes and more people from Under.
Site Executes
Well-coordinated executes on A or B are vital. A-site executes often involve smokes for Jungle, Stairs, and CT, combined with flashes and molotovs for Under Balcony, Shadow, and Firebox. For B, smokes for Market Window and Door, and molotovs for Van, Bench, and Site are typical.
Pistol Rounds
CT-Side
CTs often play standard positions, with a focus on retake potential. One player might play close in A-main or Palace with a quick rotate to Mid or B if needed.
T-Side
T-side pistol rounds often involve fast executes, like a quick A push with smokes for CT and Jungle, or a B rush with a smoke for Market Window.
Tips and Tricks
- Utility Game: On CT, use smokes and molotovs to delay T pushes and gain information. On T, use smokes to block key sightlines and molotovs to clear common CT positions.
- Eco Rounds: Surprise tactics, like stacking a site or aggressive mid control, can turn the tide.
- Communication: Efficient callouts and teamwork are crucial for rotations and utility usage. Stick to your team’s strategy and avoid solo plays.
Conclusion
Mirage is a map that rewards strategic play, utility mastery, and adaptability. Whether you’re executing a split A push or holding Mid as CT, understanding the map’s dynamics is key to success. Mastering these aspects will significantly enhance your performance on Mirage, a staple in the CS2 map pool.